Toy Rotation System With Bins That Actually Works (No Fancy Playroom Needed)
If you’ve ever stepped on a Duplo at 6am in bare feet, you already know. The floor’s disappeared. The toys have multiplied overnight like they had been paid to do it. And yet somehow, your kid stands in the middle of it all and announces they’re bored.
I have been in the midst of all that sooo many times. Strong coffee in hand, staring at a playroom that looks like a toy store had an identity crisis. And the dear offspring that moans they have nothing to play with. While you wonder if there’s any toys left in the world that weren’t in this room now.
Even if you did consider a trip to the local toy store to stick a temporary plaster over their boredom, you really don’t need to. A simple toy rotation system with bins you probably already own can completely change how your kids play, how your home looks, and how many times a day you hear the word “bored.”
*This article may contain affiliate links.
This means I sometimes earn a commission, at no extra cost to you, if you make a purchase using my link.
Further info can be found in the disclaimer.
No Pinterest playroom required. No fancy labels. Just a flexible plan that works in real life, with real kids, in a real house.
What Is A Toy Rotation System (And why does it actually work)?
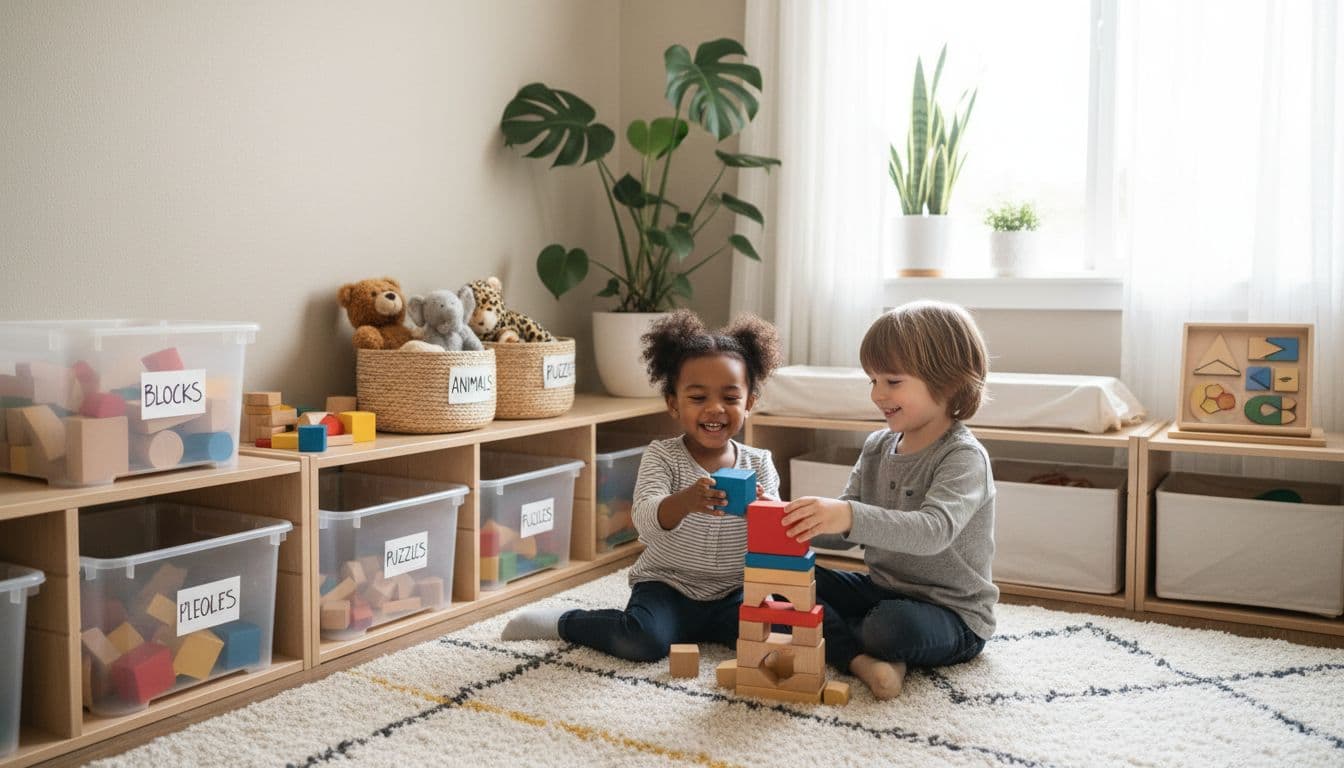
Simple toy rotation bin system in a cozy family playroom
A toy rotation system means keeping only a small selection of toys out at any one time and storing the rest out of sight. Then, every week or two, you swap them out. The stored toys feel brand new even though they’ve been living under your bed for months.
It sounds almost too simple. But there’s a real reason it works.
Kids focus better with fewer choices. When every toy they own is spread across the floor, their brains go into overwhelm mode and they bounce from thing to thing without settling into real play. When there are only a few toys on the shelf, they actually dig in and use their imagination.
The other bonus? Clean up takes about a quarter of the time.
And for those of us not working with mansion-sized square footage, it’s completely small-space friendly. Bins can live under a bed, in a closet, or on the top shelf in your bedroom. No special furniture needed.
Step One: Start With What You Already Own
Before you buy a single bin, do a quick toy audit. This is not a full purge. It’s just a reset. Do it during nap time or after the kids go to bed so you can actually think.
Pull all the toys into one room – yes, it’ll look worse before it looks better – then do a quick sort:
- Toss anything broken, missing pieces, or genuinely unsafe.
- Set aside anything your child has clearly outgrown for donation or storage.
- Group the rest into loose categories.
Simple groupings to start with:
- Blocks and building
- Cars and vehicles
- Animals and figures
- Dolls and pretend play
- Art supplies
- Puzzles and games
Don’t overthink the categories. The goals is just to see what you’re working with before you decide what stays out ad what goes into rotation.
How to Set Up Your Toy Rotation Bin System
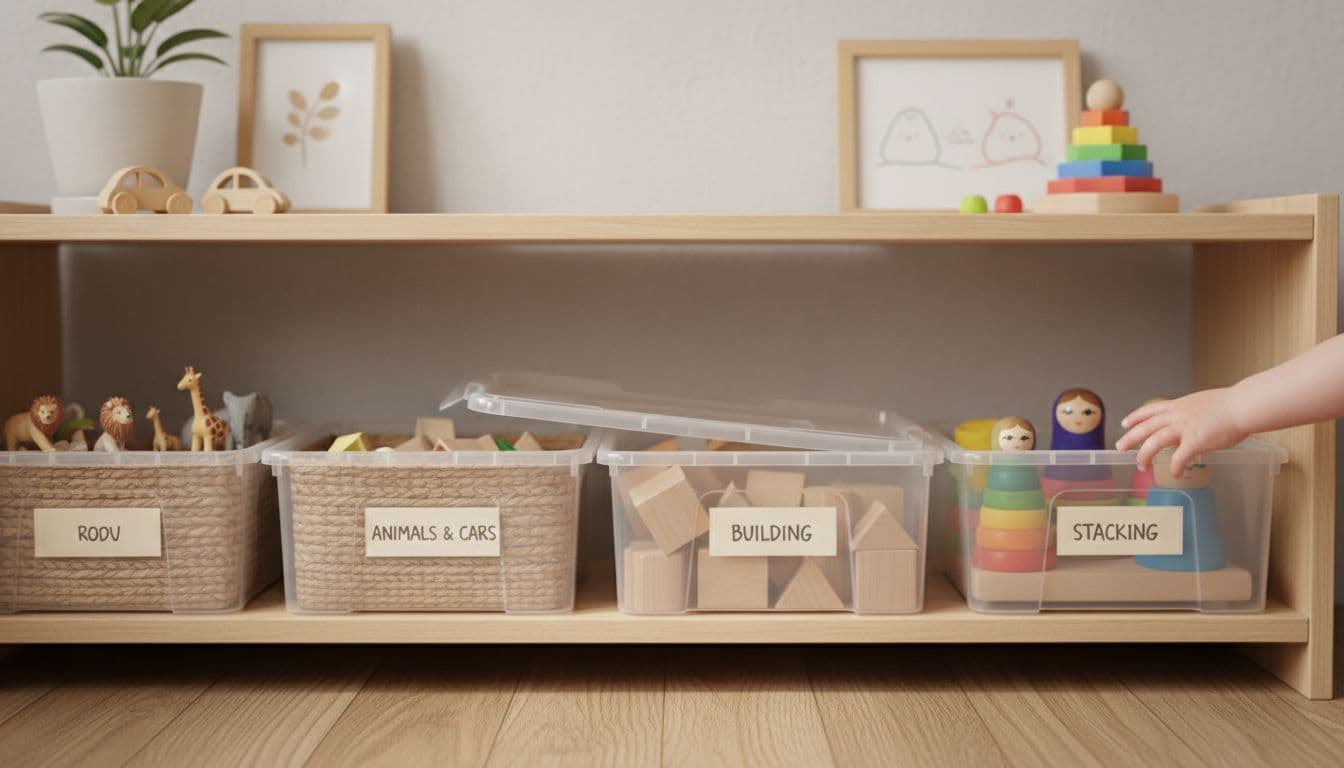
Close-up of labeled toy rotation bins on low shelves.
Pick Your Bins and Your Storage Spot
Use what you have first. Old shoeboxes, gift boxes, or extra baskets all perfectly fine. Clear plastic bins are helpful because you can see inside, but absolutely not required.
Choose one main play zone for the toys that are out. This could be:
- A low shelf in the living room
- One cube shelf in a bedroom
- A small corner with a couple of baskets on the floor
Then pick a ‘hidden’ storage spot for everything else: under the bed, top of a closet, a hallway cabinet. That is your toy library.
Choose a Small Daily Selection
Most families do well with 4 to 8 toy choices out at a time, not counting books.
A good starting mix looks something like this:
- 1 building option (blocks, Magnatiles, Duplo)
- 1 pretend play set (kitchen items, doctor kit, dolls)
- 1 fine-motor toy (puzzle, lacing beads, shape sorter)
- 1 movement toy (ball, tunnel, ride-on)
- 1 or 2 fun favorites
Everything else goes into your rotation bins and waits its turn.
A Quick Guide to Bin Size by Age
| Age group | Bin category example | Toys in each bin (approx.) |
|---|---|---|
| Ages 1 to 3 | Blocks and stackers | 5 to 8 pieces |
| Ages 3 to 5 | Pretend play or dress-up | 6 to 10 items |
| Ages 4 to 6 | Small world figures | 8 to 12 figures |
| Mixed ages | Shared building toys | 10 to 15 pieces |
Smaller bins beat overflowing ones every time. Siz great toys in a bin is always better than thirty random bits.
How Often To Rotate Toys (Without Making It a Whole Thing)
There is no perfect schedule. Choose what fits your actual life, not your ideal life.
Common patterns that work well:
- Weekly rotation: Pick one evening, like Sunday, and swap a few toys over. Takes about ten minutes once you’re in the habit.
- Every 2 weeks: Great for busy seasons or kids who like to stay in a project for a while.
- Interest-led: If a toy has been ignored for several days, that’s your cue to swap it out.
You don’t have to rotate everything at once either. Swapping out one or two toys counts. This system is supposed to make your life easier, not give you another job.
How To Talk to Your Kids About Toy Rotation
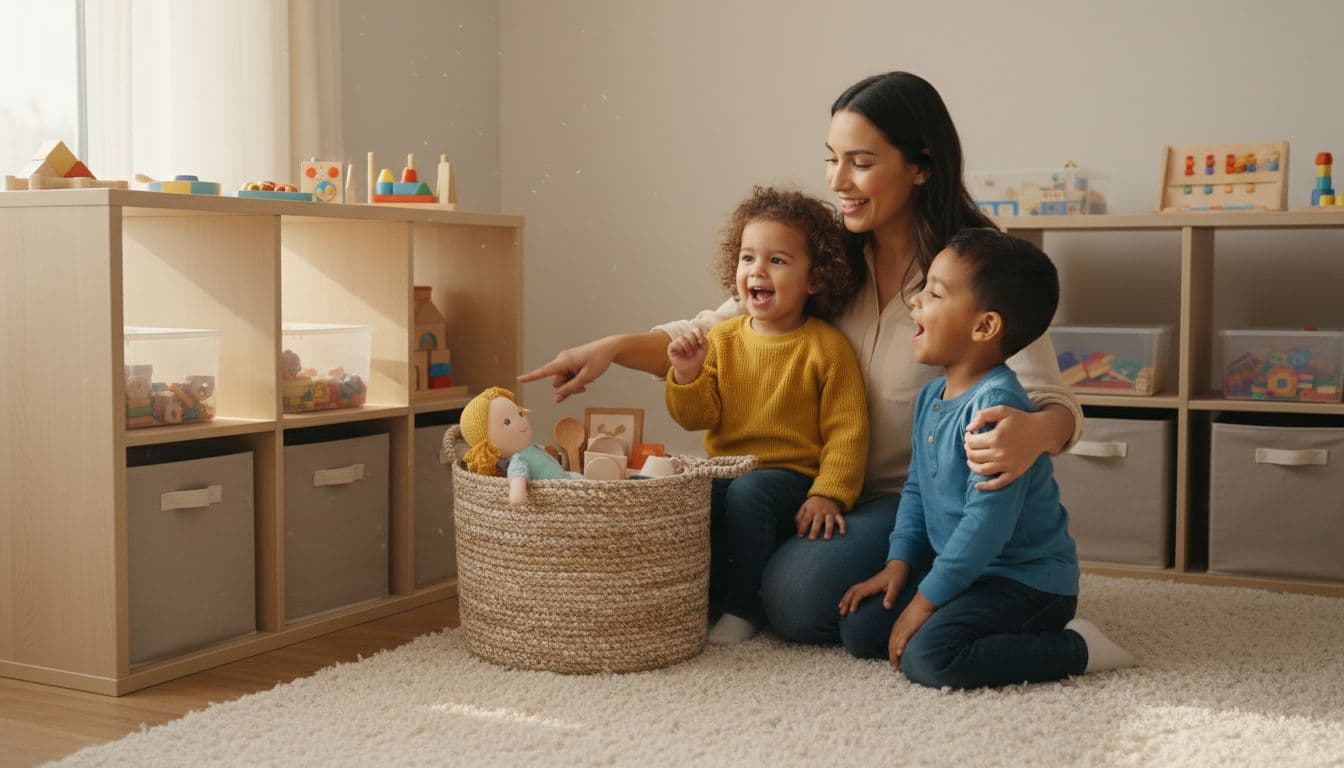
Parent and young children choosing toys from rotation shelves.
Kids handle this surprisingly well when they feel included in the plan.
For toddlers, try something like:
“We’re giving your toys a little rest so they stay special. These ones get to play on the shelf today. The others are going to sleep in the closet – and next time we’ll wake them up and choose new ones.”
For preschoolers:
“We have so many toys it’s hard to find your favorites! Let’s pick a few for this week, and the rest can go to the toy library. We’ll choose new ones together next week.”
If your child is worried about toys being “gone,” show them the bins. Let them help pack one up or pick one “must stay out” toy. Buy-in goes a long way.
Tips by Age
Toddlers (1 to 3):
- Keep bins simple with bigger pieces and fewer choices.
- Rotate less often; every two weeks is fine.
- Expect them to pull multiple bins at once. That’s normal.
Preschoolers (3 to 6):
- Involve them in picking the weekly set.
- Add one slightly challenging toy like a harder puzzle.
- Let them name the bins; “Building Box” and “Animal Friends” makes it feel like their idea.
Multiple kids:
- Have some “everyone” bins like blocks and vehicles, plus a small personal bin for each child.
- A bit of color coding with tape can help reduce the “that’s MINE” negotiations.
Common Worries (And Gentle Reassurances)
- “They will miss their toys.”
They usually don’t, and when you bring a stored toy back out, it genuinely feels new. You’ll hear “Oh, I LOVE this one!” about a toy they walked past every day for six months. - “I don’t have time for this.”
After the first setup, swaps take 5 to 10 minutes. The first sort is the hardest part, and you only do that once. - “My house is too small.”
One shelf and a couple of under-bed bins still counts as a toy rotation system. This works in apartments, small houses, and shared bedrooms.
You are absolutely not doing it wrong if your system looks simple.
One Afternoon Quick-Start Guide
If you want to start today, here’s the short version:
- Pick one room where the toys will live for now.
- Gather toys from around the house into that room.
- Remove broken or outgrown and set it aside.
- Group what’s left into loose piles like blocks, vehicles, dolls, puzzles.
- Choose 6 to 8 toys to stay out for the next week.
- Pack the rest into bins or boxes and pop them in a closet or under a bed.
- Explain the new system to your kids in simple, positive language.
- Set a reminder on your phone for your first swap in one to two weeks.
That is it. You can always add labels later when you’re feeling fancy.
The Bottom Line
A simple toy rotation system with bins isn’t about being a perfect parent or having a picture-perfect playroom. It’s about giving your kids more space to actually play and giving yourself a bit of breathing room.
Start with what you own. Keep the bins light. Let your kids help pick. Adjust as your life changes.
Most of all, remember this is a tool for you, not a test you can fail. Try it for a month and see how your home, and your kids, feel.